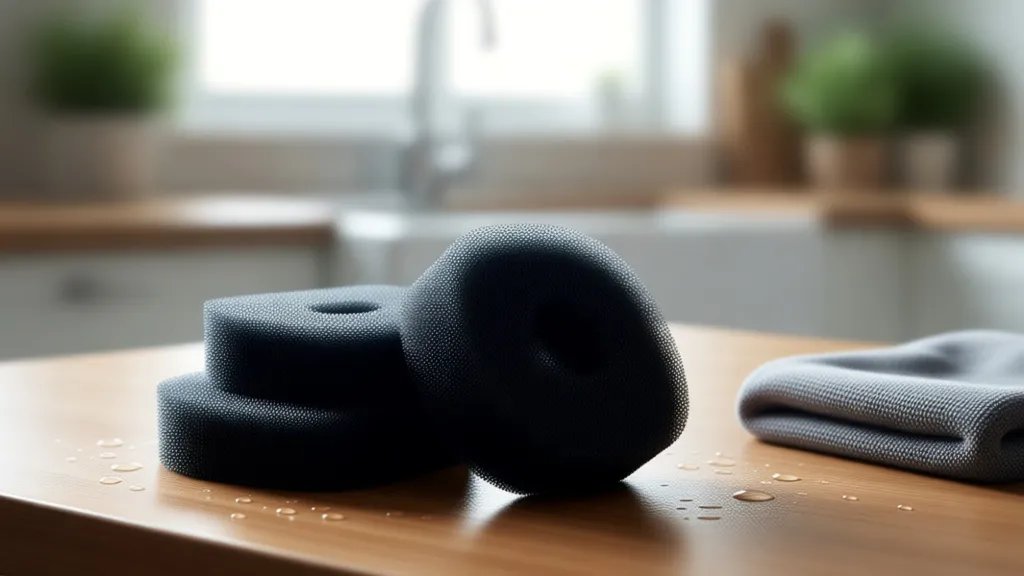
How to Wash Your Shark Vacuum Foam Filters Without Ruining Them
This guide to wash shark vacuum foam filters explains the practical details worth knowing before you make your next decision.
Keeping your Shark vacuum running smoothly is all about maintenance, and a big part of that is caring for its filters. Over time, these little guys can get clogged with dust and debris, which really impacts suction power. Honestly, it’s one of the most common reasons people think their vacuum is failing when it’s just a dirty filter. I’ve been there, and it’s frustrating when you’re trying to clean up a mess and your machine just isn’t pulling its weight.
The good news is that many Shark vacuum models use washable foam filters. This means you don’t have to constantly buy replacements. However, there’s a right way and a wrong way to wash them. Get it wrong, and you could end up with a damaged filter that won’t seal properly or even disintegrate. I set out to find the best, most reliable method to wash Shark vacuum foam filters so they last and keep my machine performing at its best, and I’m sharing what I learned.
Table of Contents
wash shark vacuum foam filters: What You Need to Know
Basically, your vacuum’s filters are its lungs. They trap all the fine dust, pet hair, and allergens that would otherwise get blown back into your home or clog the motor. When these filters get saturated with dirt, airflow is restricted. This means your vacuum has to work much harder, leading to reduced suction and potentially overheating the motor. For most Shark models, the foam filter is the first line of defense. Keeping it clean is the simplest, most effective way to maintain peak performance. It’s not just about suction; it’s about the longevity of your entire vacuum cleaner.
Gathering What You Need Before You Start
Before you dive in, make sure you have everything ready. You’ll need access to a sink or a bucket, some mild dish soap, and a source of clean water. I also recommend having a few old towels or a drying rack handy. It’s important to use only mild soap; harsh detergents can break down the foam material over time. You’ll also need to know which specific Shark vacuum model you have, as filter types can vary slightly, though the washing process is generally consistent.
The Step-by-Step Process for Washing Foam Filters
Okay, so here’s the actual washing part. First, carefully remove the foam filter from your Shark vacuum. Most models have a compartment that’s easy to access. Once it’s out, give it a good shake to dislodge any loose debris. Then, rinse it under cool, running water. You want to rinse from the inside out to push the dirt away from the filter’s core. If it’s particularly grimy, you can gently work in a small amount of mild dish soap with your fingers. Really work it in, but avoid scrubbing aggressively, as this can damage the foam. After soaping, rinse thoroughly until all the soap suds are gone. This part can be tricky; you don’t want any soap residue left behind, as it can affect the filter’s performance.
Drying Your Shark Vacuum Filters Properly
This is arguably the most critical step, and where many people go wrong. You absolutely cannot put a wet foam filter back into your vacuum. It needs to be completely dry. After rinsing, gently squeeze out as much excess water as possible. Again, don’t wring or twist it, just a gentle squeeze. Then, let it air dry. I usually place mine on a clean towel or a drying rack in a well-ventilated area. Avoid direct sunlight or heat sources like hair dryers or ovens, as these can warp or melt the foam. Honestly, it can take 24 hours or even longer for a filter to dry completely, depending on humidity. Patience here is key; a damp filter can lead to mold growth and damage your vacuum.
When to Replace, Not Just Wash
While washing is great, foam filters don’t last forever. If you notice your filter is starting to tear, become misshapen, or if it still smells musty even after washing and drying, it’s probably time for a replacement. On paper, they’re designed to be washable, but wear and tear happen. I’d still check your Shark vacuum manual for specific recommendations, but generally, if a filter looks compromised, it’s not worth the risk to your machine. A new filter is a small investment compared to a motor repair.
Frequently Asked Questions
Can I use hot water to wash my Shark vacuum foam filter?
No, I would definitely stick to cool or lukewarm water. Hot water can potentially damage the foam material, causing it to break down or lose its shape. Gentle cleaning with cool water is best for preserving the filter’s integrity.
How often should I wash my Shark vacuum foam filters?
It really depends on how often you use your vacuum and what you’re cleaning. For most households, I’d recommend washing them about once a month. If you have pets or deal with a lot of fine dust, you might need to wash them more frequently, perhaps every two weeks. It’s a good idea to check them visually each week.
Can I put my Shark vacuum foam filter in the washing machine?
I strongly advise against putting your foam filter in a washing machine. The agitation and harsh detergents used in washing machines can easily tear apart the delicate foam structure. Hand washing is the safest and most effective method.
My filter still smells after washing. What should I do?
If a filter still has an odor after being washed and thoroughly dried, it’s likely that the material has become saturated with deeply embedded odors or is starting to degrade. In this case, it’s best to replace the filter to ensure your vacuum doesn’t recirculate smells.
Useful next reads for this topic include best affordable backpack vacuum cleaner, best replacement HEPA filters for dyson v10, and best replacement hose for shark navigator lift away.
Conclusion
Taking a little time to properly wash and dry your Shark vacuum foam filters can make a huge difference in your vacuum’s performance and lifespan. Remember to be gentle, use mild soap, and allow ample drying time. By following these steps, you’ll keep your Shark running efficiently and save yourself the cost of frequent filter replacements. It’s a simple maintenance task that pays off big time.